First-time Setup
NB: Before accessing the TILDA VISTA SeRP, please ensure you have an authenticator application (such as Microsoft Authenticator, Google Authenticator or Ente Auth) installed on your phone. This is necessary for logging in to your account.
Authenticator Setup
These steps will apply to the Microsoft Authenticator application. If you are using a different app the steps may be different.
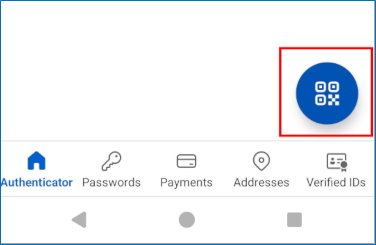
You will receive a QR code from the TILDA Hotdesk Team in an email. Open and unlock the Authenticator App. Press the QR Scanner button in the bottom right corner and scan the QR code you have been sent. You may receive a prompt to allow the Authenticator app to access your camera. You can select to allow this once or always.
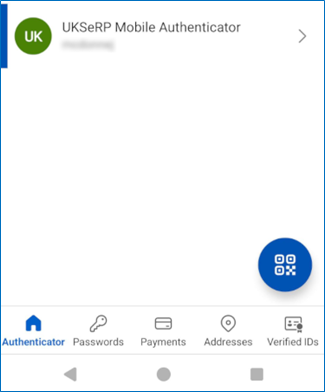
Once it has been added there will be a ’UKSeRP Mobile Authenticator’ entry on this screen.
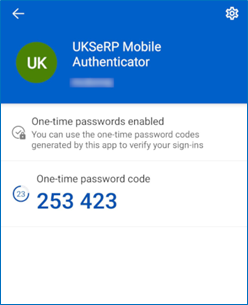
When selected you will see a six digit ‘One-time passcode’, which refreshes every thirty seconds. This will be needed every time you access the VISTA platform.
Account setup
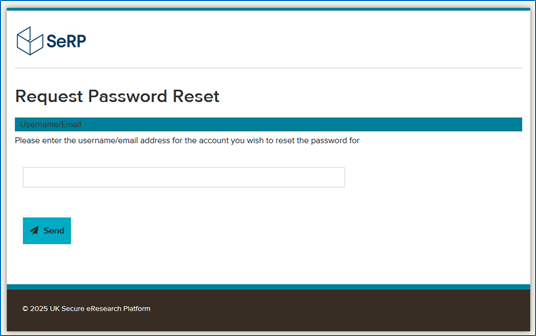
Set a password for your account at https://portal.tilda.ukserp.ac.uk/requestnewpassword. You can enter either the email address associated with the account, or the username of the account. The username will be sent to you by the TILDA Hotdesk Team. If you have not received it, please get in touch.
Once you click ‘Send’ you should then receive an email with a link to set your password.
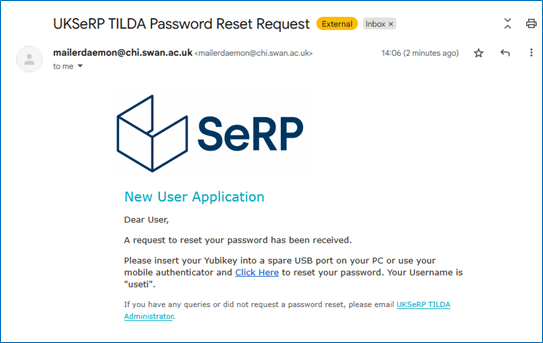
Click ‘Click Here’ to be brought to the Password Change Request page.
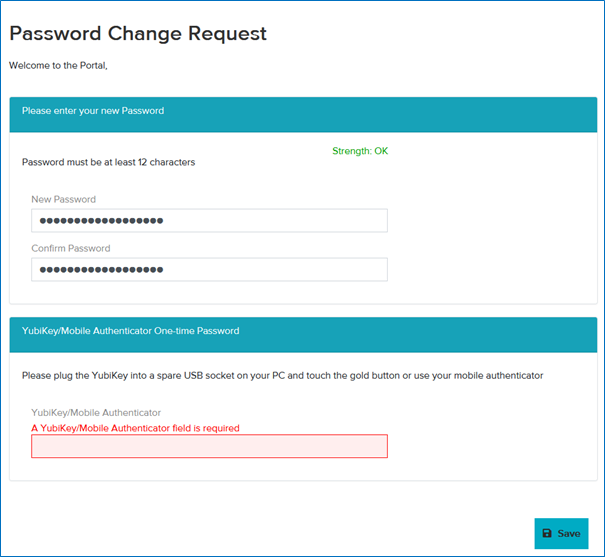
Enter the password you want to use for your VISTA account under ‘New Password’ and then again under ‘Confirm Password’. The password must contain at least 12 characters and should follow common guidelines such as using a combination of numbers, upper and lowercase letters, and special characters, and not reusing a password you use for another account.
You will then be asked for your authenticator passcode. This is the ‘one-time passcode’ in your authenticator app. Enter this under ‘YubiKey/Mobile Authenticator’. Once entered click ‘Save’. If the passcode timed out before you clicked ‘Save’ enter the new passcode and try again.
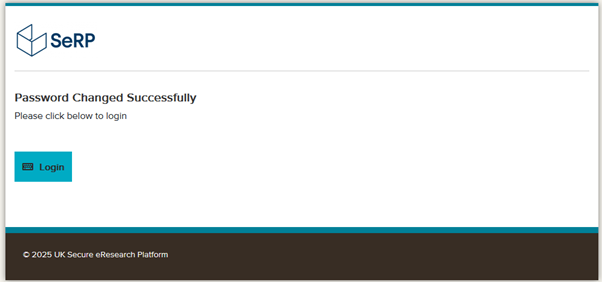
If successful you will see this screen that says ‘Password Changed Successfully’ and you can click ‘Login’.
Installing Omnissa Horizon Client
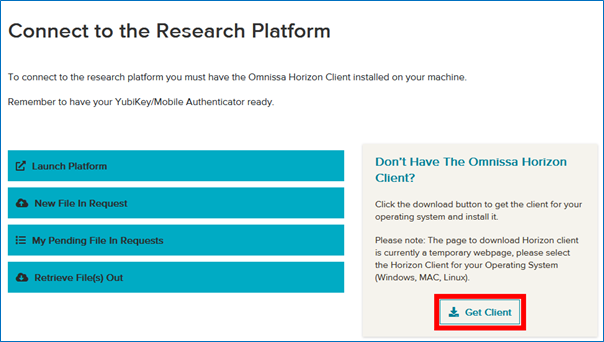
To connect to the TILDA VISTA platform, users must install the ‘Omnissa Horizon Client’.
This can be accessed here https://customerconnect.omnissa.com/downloads/info/slug/desktop_end_user_computing/omnissa_horizon_clients/8 or through the VISTA Portal if you have logged in.
On this page you will see a list of available downloads for each operating system.
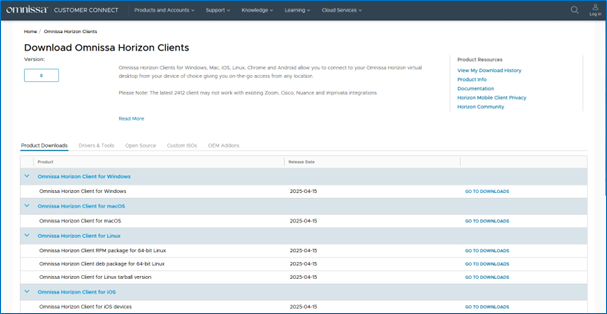
For example if you are using a Windows computer select ‘GO TO DOWNLOADS’ underneath ‘Omnissa Horizon Client for Windows’. There are other options for macOS devices, Linux, iOS, Android and Chrome.

You will be brought to this page for the operating system option you selected.
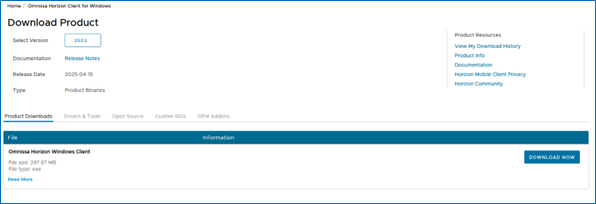
Click the ‘DOWNLOAD NOW’ button to download the installation file.

Once it has been downloaded, go to your downloads folder on your device and run the file.